Chocolate 3D Printing
Summary: When I came back from studying abroad in London (Spring 2015), I joined the Society of Engineering Mechanics where they were working on a chocolate extruding 3D printer. I worked primarily on the electronics of the printer but I did join in on mechanical design meetings since I had a fair amount of experience stemming from my past design courses.
We chose to use the Arduino Mega with the ATmega1280 and the RepRap Arduino Mega Pololu Shield (RAMPS) since it had all the desired I/O and a large support community built around it. The printer included 4 stepper motors, one for each axis and one for the extruder. The gantry system was inspired by the RepRap open source 3D printing system. Marlin firmware was used and optimized for chocolate printing and use with our pulley system. The aluminum build plate had bent copper tubing installed under it to reduce temperature gradients when cycling a refrigerant. We were able to achieve a successful 1st layer but had insufficient cooling for building a structure. As I was graduating, a new cooling system was being outfitted with thermoelectric cooling modules (Peltier modules) and other chocolates were being researched for more suitable thermal properties. Additionally, a better insulated syringe design was in the works with talks of including a heating element in the on-board chocolate reservoir.
Gallery
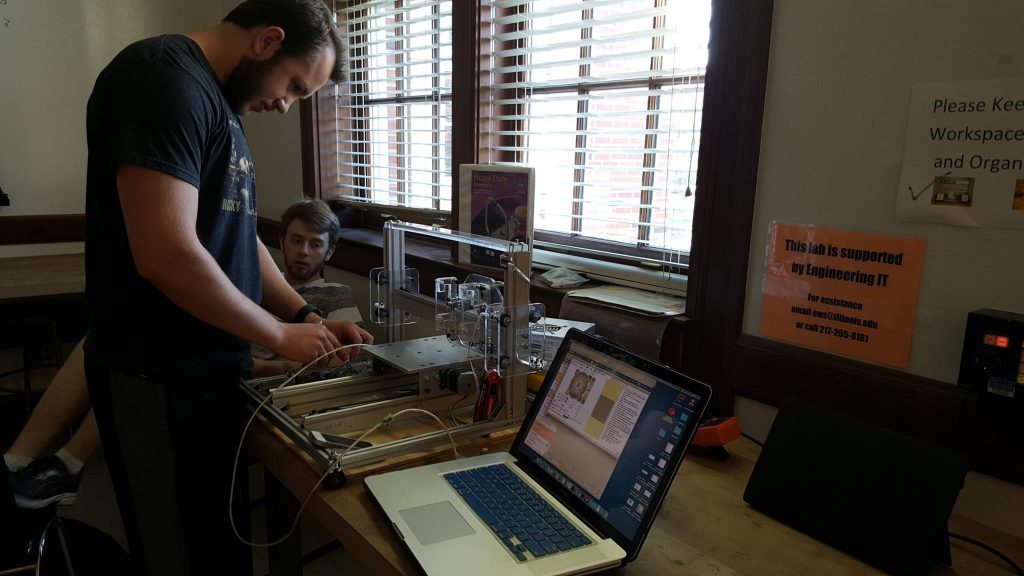
Exchanging a Romantic Gaze with the Printer

First Design – Attempt at Extruding the letter “I” (Spring 2015)
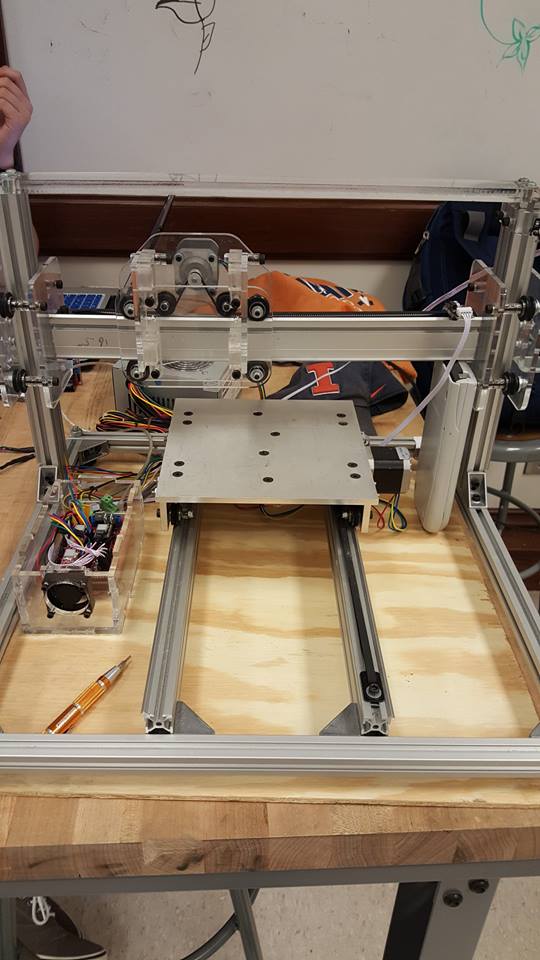
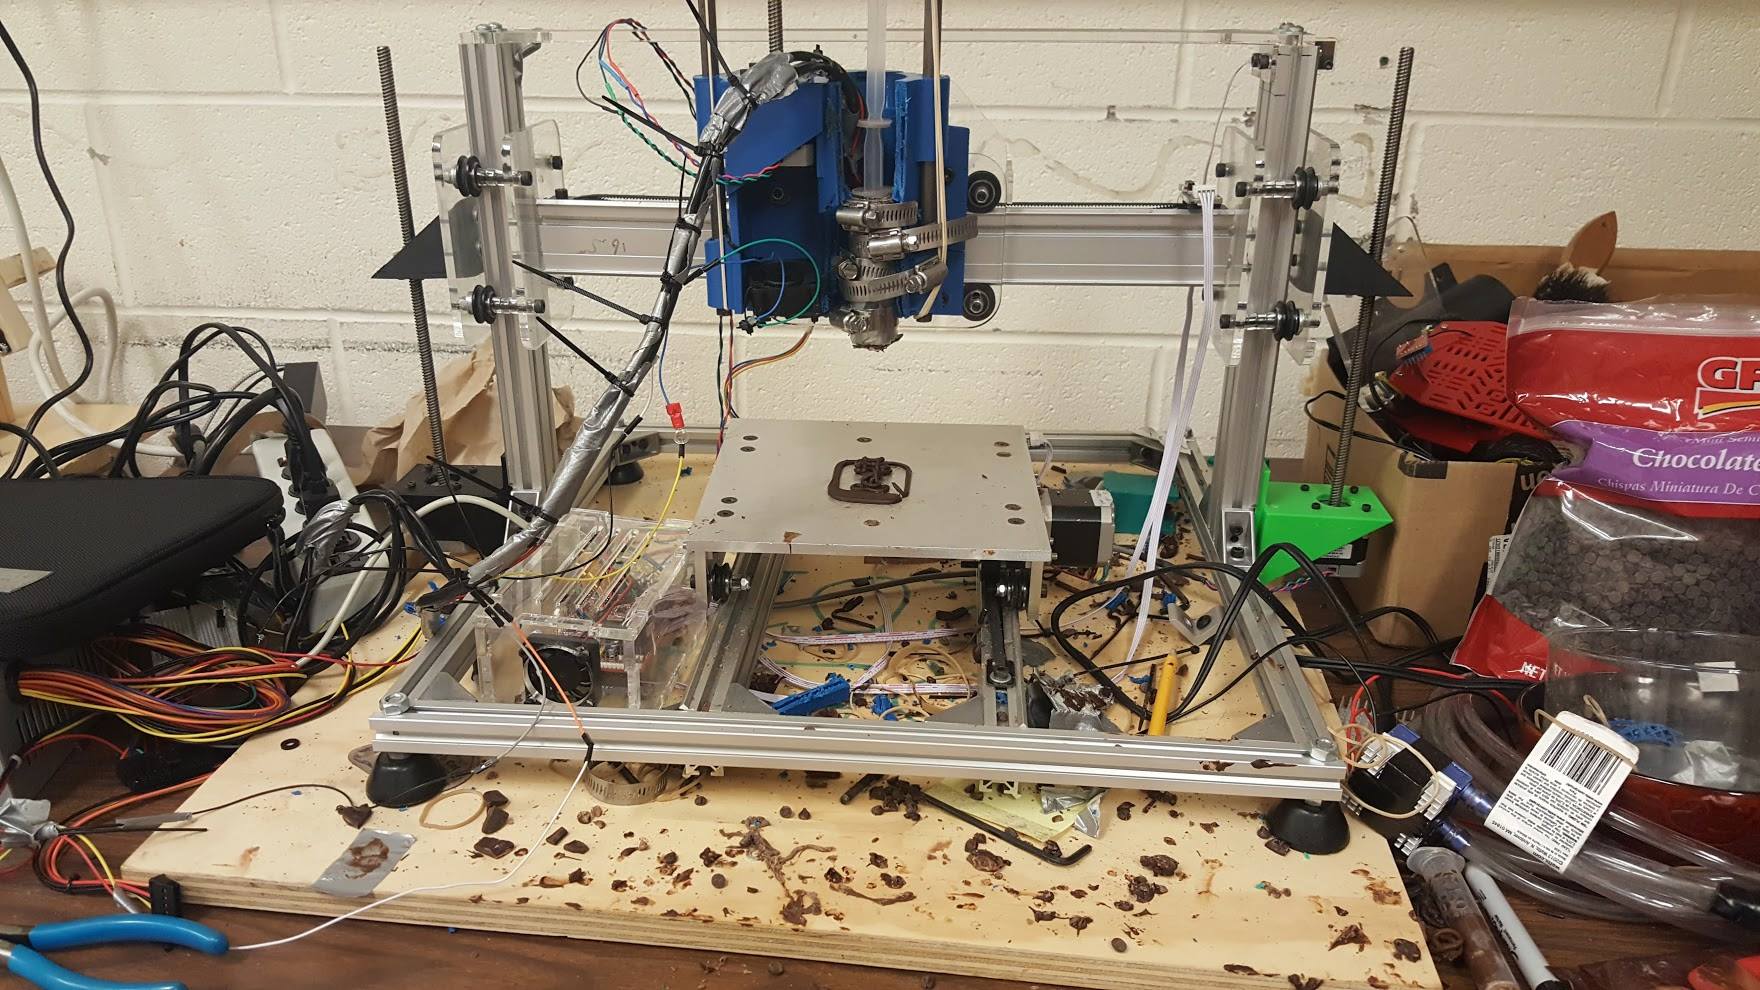
Front View of Printer with Disassembled Extruder
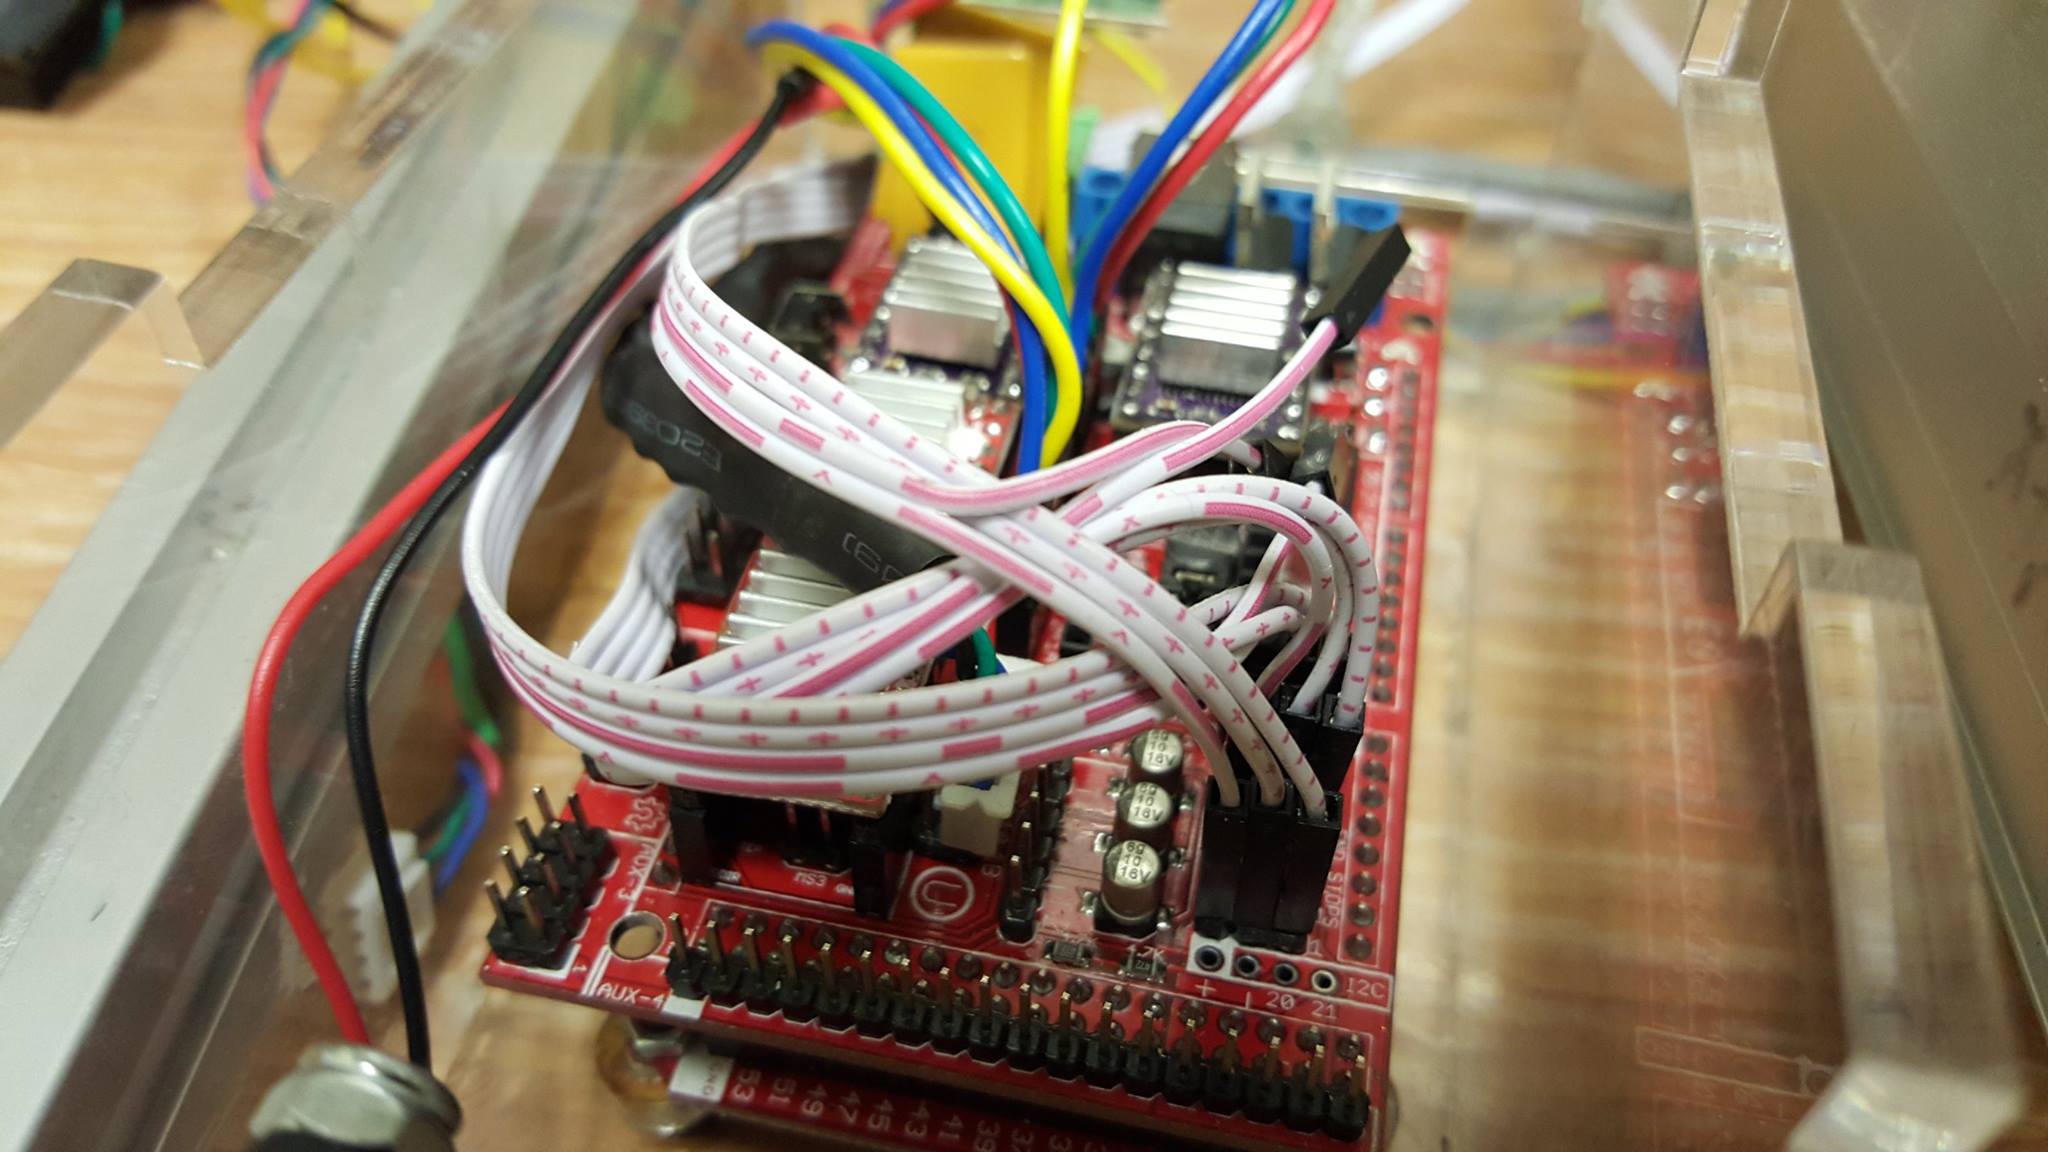
Arduino Mega with RAMPS
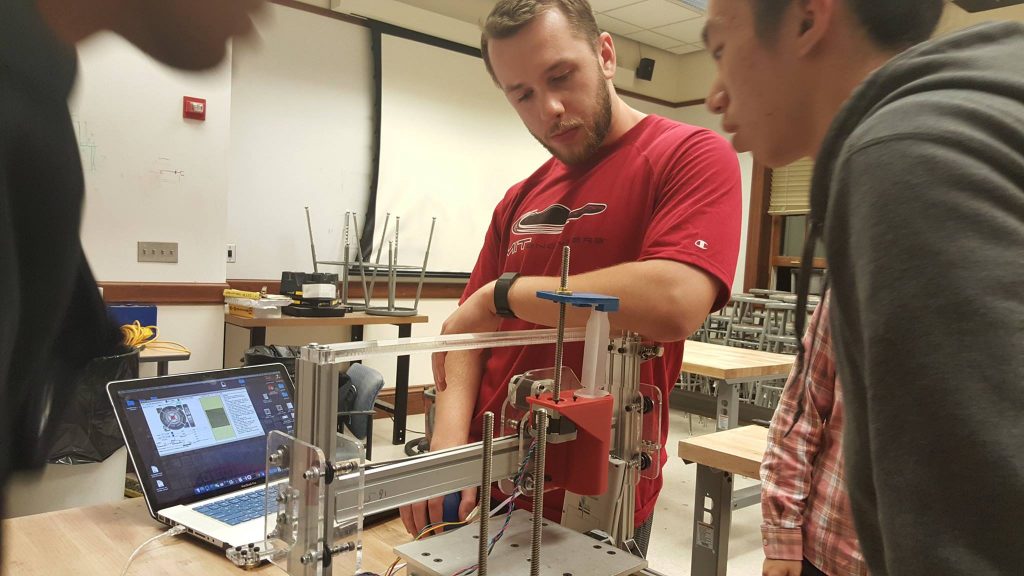
Experimenting with New Extruder Assembly
Early Prototype Video
Below was our first attempt at printing “EOH” with the printer in the Spring of 2015. This is where we realized the chocolate was cooling too quickly in the syringe which caused the pulley belt attached to the plunger to slip. The printer has gone through significant improvements from this point.
(Photo Credits: Liz Livingston)